

I am rather excited to be sharing this post with you as I have been wanting to do a new highlighting and contouring post since I have been practising a bit more - now I am certainly no way an expert on this and there are so many great artists and techniques out there, but I wanted to share with you my views and what I find works well for me.
This post is a collaboration with MAC for House of Fraser and I was super chuffed to have received a request to create a contouring post with them, for those who know me well or read my blog often know that I am a huge lover of MAC and I am a sucker for buying new products of theirs. I was invited to choose a selection of products to create a contouring look for you all, so I decided to choose products that would suit most if not all skin tones.
The Products:


The first product I chose was the MAC Powder Blush in Worldly Wealth - RRP £18.00*, this shade is a beautiful golden coppery-brown with gold shimmer undertones, it reminds me very much of a bronzer without having a 'muddy' look to it. I have really pale skin and often struggle to wear brown toned blushes or even bronzer but there was something about this shade that would be perfect for most skin tones.
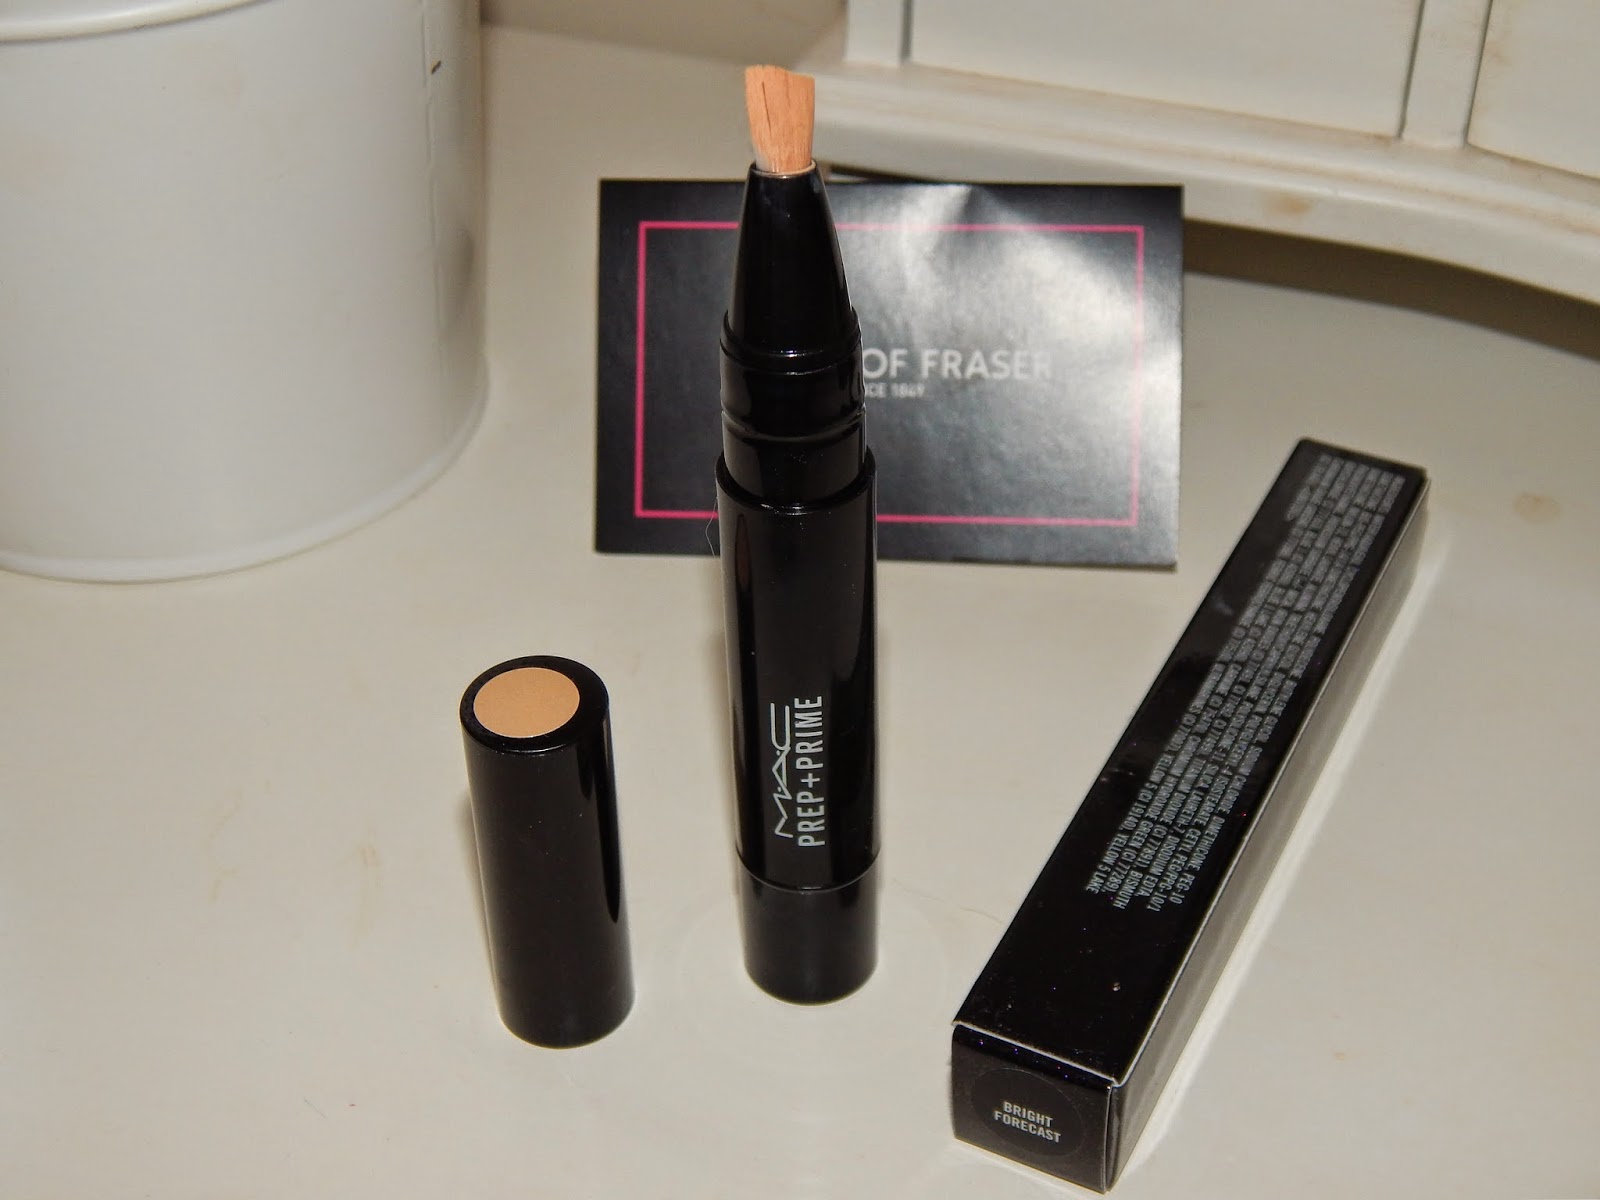

The next product I chose was the MAC Prep & Prime Highlighter in Bright Forecast - RRP £18.50*, I have loved MAC's Prep & Prime Highlight sticks for a while as they are so easy to use just to brighten up your skin and give you a glow. The Bright Forecast is a slightly darker shade than I would normally use, but as this is a highlighter this gives you a beautiful glow rather than an obvious highlight - if used on darker skin tones than mine this would give a lovely strong highlighted finish.
The Brushes:

When applying any make-up, especially when contouring and highlighting it is super important to ensure that you are using the right brushes or have a good set of brushes. I have built up a collection over the years and my most favourite brushes are by Real Techniques - with a couple of others added in. I love the Real Techniques Core Collection which contains the basic brushes you will need including foundation brush, buffing brush, contour brush and a detailing brush. Please excuse the state of these brushes, they were clean but I took the photo after using them. Whoops!

A lot of people think that you need to contour and highlight before applying your foundation or powder, sadly this is false. To get the best results always apply your primer, foundation and setting powder before you start creating. In this look, I use MAC Studio Fix Foundation Fluid in NW20, this is a product I have been loving for years, this has a high coverage and a thick-ish texture so you only need the one coat, I use this on the days where I need a little extra coverage or feeling a little naff.
I have loved the idea of contouring from the start as I think it is a great way to define your facial features in a creative way, it blows my mind the things you can do with make-up nowadays! I always look at pinterest as they have loads of hints and tips of what to do or what way is best for your facial shape etc, here is a guide that I follow to give you the basics of defining for each facial shape.
 |
| Photo Credit: Pinterest |

- Never contour with a bronzer, I feel they have too much warmth and can leave you with a muddy look which is never attractive. Instead use a neutral soft tone with shimmer if you like, like the MAC Powder Blush in Worldly Wealth. Even though this is a golden shimmer, this product blends really well and leaves you with a subtle soft contour.
- If you are new to contouring and don't really want to experiment with golden tones, stick to neutral shades which have cool, grey and soft undertones as this make it easier to create shadowing in the desired places without having to practise blending the products first.
- Use a good brush - the Real Techniques Contour Brush is perfect for defining cheek bones, your face shape and around the jawline. This slim oval pointed brush is easy to add your warmth with small circular motions for a more natural look. To contour and define around the nose area, the Real Techniques detailing brush is perfect to add your warmth down the side of your nose and underneath your nostrils and then use the buffing brush to blend all your warmth in.
- If you have a larger forehead like mine, don't panic as contouring is the way forward as you apply the warmth across the top of your forehead and around the sides of your head to create a shadow - this will make your forehead appear slightly smaller and thinner.
Photo Example Below - don't worry this is before buffing so don't panic about how prominent the lines look.


Highlighting Tips:
- To brighten up your eye area, highlighting is perfect to get rid of unwanted dark circles. The best way to do this is to create a sweeping line with your highlighter - the MAC Prep & Prime Highlight is perfect as it already has a brush that is great for application.
- The great thing about highlighting is you can do this wherever you want to brighten up your appearance. If you want to highlight your forehead, I found the best way is to add a triangle on your forehead right in the middle of your T-Zone, - if you're like me and has a larger forehead you don't want to do this too much as it will take away the effect of contouring. To enhance your facial features and make these longer, apply the highlighter down the middle of your nose in a straight line and on the cupids bow - the dip of your lip - if desired I also add a horizontal line across my chin and slightly under my cheeks just to define my cheeks more.
- I always set the highlighted areas with a shimmery powder, you wouldn't believe me when I say this but I use a £1.99 eye shadow from Natural Collection in Barley. This powder is a really natural shimmery eye shadow and it looks great swept across your cheek bones for a subtle yet beautiful shimmer.
Photo Example Below - don't worry this is before buffing so don't panic about how prominent the lines look.


Once you are happy with the applied products, blend together using a buffing or blending brush. I recommend Real Techniques Buffing Brush as this gives excellent results and is really easy to use. To set the products, I use MAC Prep & Prime Translucent Finishing Powder which comes in both a loose powder and a pressed powder, for this product I prefer pressed as I found I didn't need to use as much of the product which means this lasts longer. You can use any white translucent powder but I would double check to make sure it says translucent as I have used a really white one before which did nothing except from make me look really poorly - whoops! Voila.
Ps. Please ignore my brows in the next few photos, I am growing them out as my last therapist messed them up.


Quick Tip!
To define my lips in the same way I have highlighted my face, I apply a small amount of the product on the middle of my lips before applying lipstick as this will just add a small glow down the middle of my lips, the results of this are usually a lot better when using a darker or brighter lipstick.


Voila! Oh just in case you are wondering my blusher is MAC Pro Longwear blusher in Petal Power and my lipstick is MAC Satin Lipstick in Angel. I hope you enjoyed my contouring tutorial post, I am sorry the photo's were not as good as I expected them to be but I haven't quite got the nack of using light to photograph just yet - any tips would be greatly appreciated :)
The contouring products I have used are available from MAC at House of Fraser, Links: MAC Powder Blusher in Worldly Wealth* and MAC Prep & Prime Highlight in Bright Forecast*. House of Fraser also have a wide range of MAC products including those used in this post.
What do you use to contour? Do you have any tips to share? Please leave details below in the comments box as I would love to hear them.

This is not a sponsored post, however this post does include products gifted to me for the purpose of this post. The products are MAC Powder Blush in Worldly Wealth and MAC Prep & Prime Highlight in Bright Forecast. All other products and tools featured in this post are my own and have not been gifted to me unless stated otherwise.


0 Comments